This week was rather slow, as the two projects I’ve been working on, the electronics for JONA ROV and the cameras for JONA ROV, need parts that I have to wait to arrive.

The parts I needed for the electronics for JONA ROV arrived Wednesday, so I spent a majority of that day working on the ESC Board v2. The 3-pin XT30 connectors arrived and I needed to test the footprints I’d downloaded. It was a good thing that I did, as they were not correct and I needed to edit them to fit the parts. The 3-pin XT30 connectors were the last parts I needed to test, so with that done we ordered the board. They should arrive sometime next week.

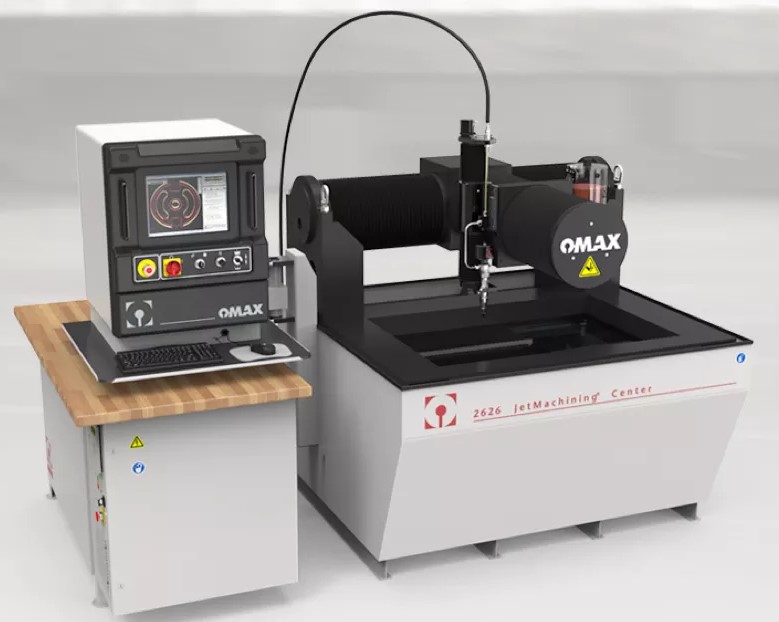
Mr. Christy wanted me to write a guide for our OMAX 2626 PRECISION JETMACHINING CENTER, so far, I’ve written a text guide, but I will add pictures.
See the guide I’ve written (as of 2023-12-14)
Export your file as a .dxf in inches format from Fusion 360
Load onto USB drive
Turn on air
Turn on water
Turn on power
Rotate the power switch on water compressor
Rotate the power switch on computer terminal
Remove all USB drives from computer (It tries to boot off of them and I'm too scare to disable USB boot because Windows complained I broke it when I tried)
Press power button on computer
Ignore Windows' complaints we haven't paid for Windows
Plug your USB drive into the computer
If the material you intend to cut is NOT already loaded and secured into the machine:
Open the program "OMAX Make Premium"
Click "OK"
If the cutting head us lowered so that when you jog it, it might crash:
Loosen the cutting head if it is not already loosened (CCW on handle on side of cutting head)
Raise the cutting head until it is a safe distance up (enough to make sure the cutting head won't crash)
Jog the cutting head away from the material (enough so you can take it out and put in the new sheet)
Secure your material in the cutting bed with at least 2 inches of space in-between where you want your part to be cut and the walls of the cutting bed (Use clamps and weights, make sure there is enough room so the cutting head won't crash)
Close the program "OMAX Make Premium"
If the material you intend to cut IS already in the bed:
Make sure your material is fully secured (It shouldn't be able to move)
If your material is not secured properly:
Secure your material in the cutting bed with at least 2 inches of space in-between where you want your part to be cut and the walls of the cutting bed (Use clamps and weights, make sure there is enough room so the cutting head won't crash)
Fill the sand container (if it's not already full) using the measuring cup (the sand is in a bag behind the waterjet)
Open the program "OMAX Layout Premium"
Under "File" from the top bar, select "Import from other CAD"
Select your .dxf
Click "OK"
Right-click "Quality" from the bottom panel
Click "All"
Click "3"
Click "Clean" from the right panel
Click "Start"
Click "OK"
If you want to do autorouting, click "Autopath" from the left panel
If you want to route things manually:
Draw lead-ins on the side you want to cut from using the "lead-in" tool from the left panel (inside of holes, outside of outline, etc)
Draw line from a corner of part to first lead-in using the "line" tool from the left panel
Draw lines from each lead-in to the next until done
THE LONG SIDE IS THE LEAD IN; THE SHORT SIDE IS THE LEAD OUT
Click "Post" from the right panel
If you did autorouting:
Click on the top-left most point (A point at the end of an unconnected line)
If you did manual routing:
Click on the beginning of the first line you drew (the one connected to nothing in the corner of your part)
Review toolpath, make sure everything will be cut on the correct side (The pink line is your imported geometry) (Etc, holes cut on the inside, main outline cut on the outside) (If it is wrong and you did manual routing, go back and change it, if you did autorouting…. IDK how to fix it)
Click "Save"
Right-click "Post" from the right panel
Click "Open ORD path in Make"
Set material from dropdown menu
Set thickness in text-box
Click "OK"
Click "OK"
Click "OK"
Flip yellow splash-guard up (if not already up)
Jog the machine to where you want your part to be cut, the position the cutting head should be where you clicked after you clicked "Post" (a corner of your part) (Use "Jog -X", "Jog +X", "Joy -Y", and"Jog +Y" buttons)
Click BOTH "Zero" buttons, also click "OK" after each "Zero" button
Loosen the cutting head if it is not already loosened (CCW on handle on side of cutting head)
Lower cutting head until 1/16 inch above material (Use the piece of 1/16 metal on the desktop, it should just touch the metal but not pin it down) (CW on handle on top of the cutting head)
Tighten the cutting head (CW on handle on side of cutting head)
Flip the yellow splash-guard down
Raise water laver until it is halfway up the yellow splash-guard using "Water Level" switch
Click "Begin Machining"
Click "Start"
Lower water level until just below your material using the "Water Level" switch
Jog cutting head away from part
Turn off air
Turn off water
Shut down the computer using Windows' "Shutdown" button in the Windows Start Menu (wait until the computer is off to continue to next step)
Rotate the power switch on computer terminal
Rotate the power switch on the water compressor
Turn off power

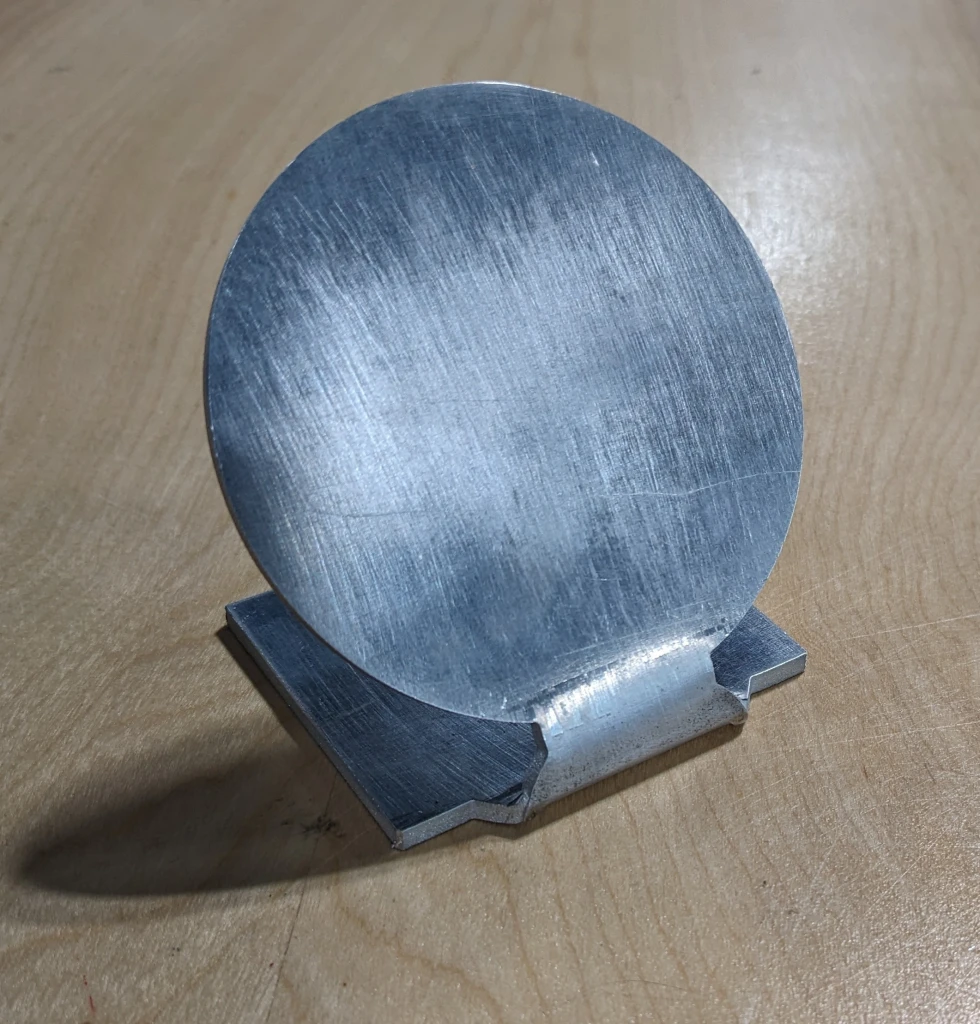
Because I didn’t have much to work on this week, I started work on a Christmas gift for one of my family members. I cut and bent this piece of 1/8″ aluminum, and I intend to spray-paint it black and then laser-engrave a design on it.
