This week I got quite a bit of work done, but at the same time it feels like I didn’t do as much as I’d have liked. On my goal sheet, I was rather optimistic about my timeline for this project and thought I’d be able to have it completed by Friday. Suffice it to say, this will not happen. Even if I didn’t end up needing to remake the holder, there was no way I’d have been able to get everything done.
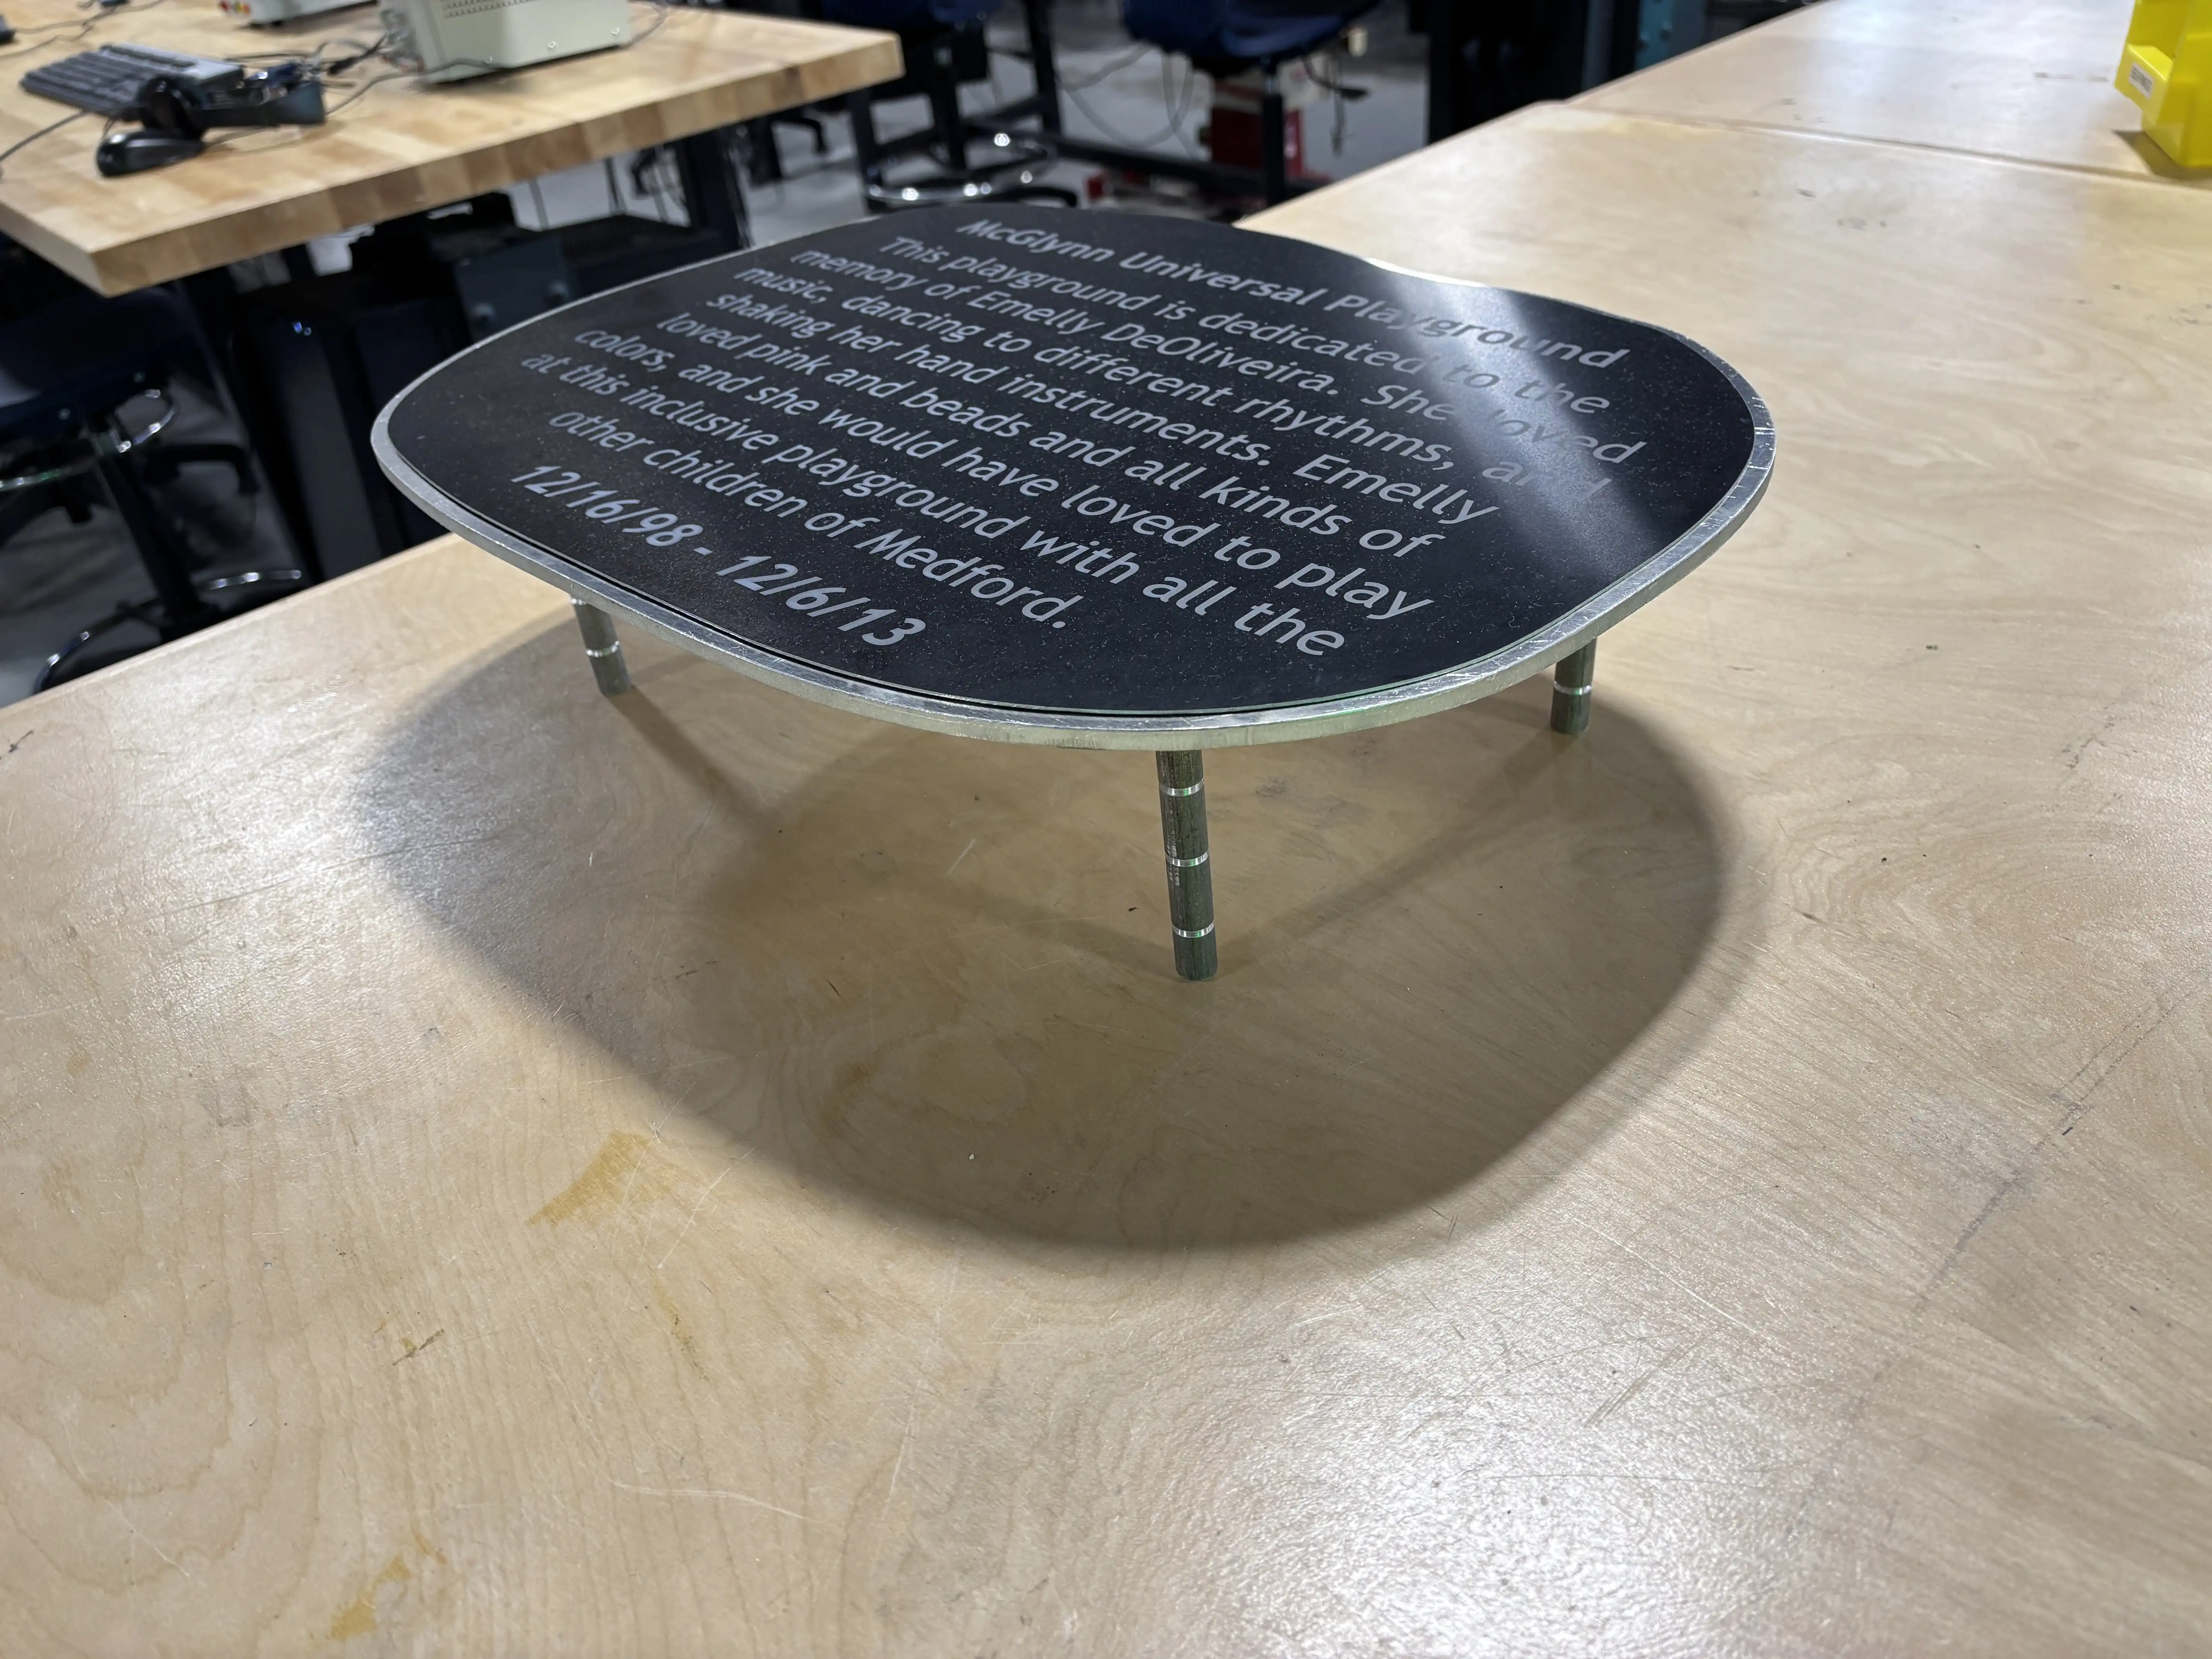
Before I write about this week’s work, I finally got a picture of the finished plaque I’d made last week. This is the plaque that will be mounted by Construction somewhere at the MMS.
Tuesday
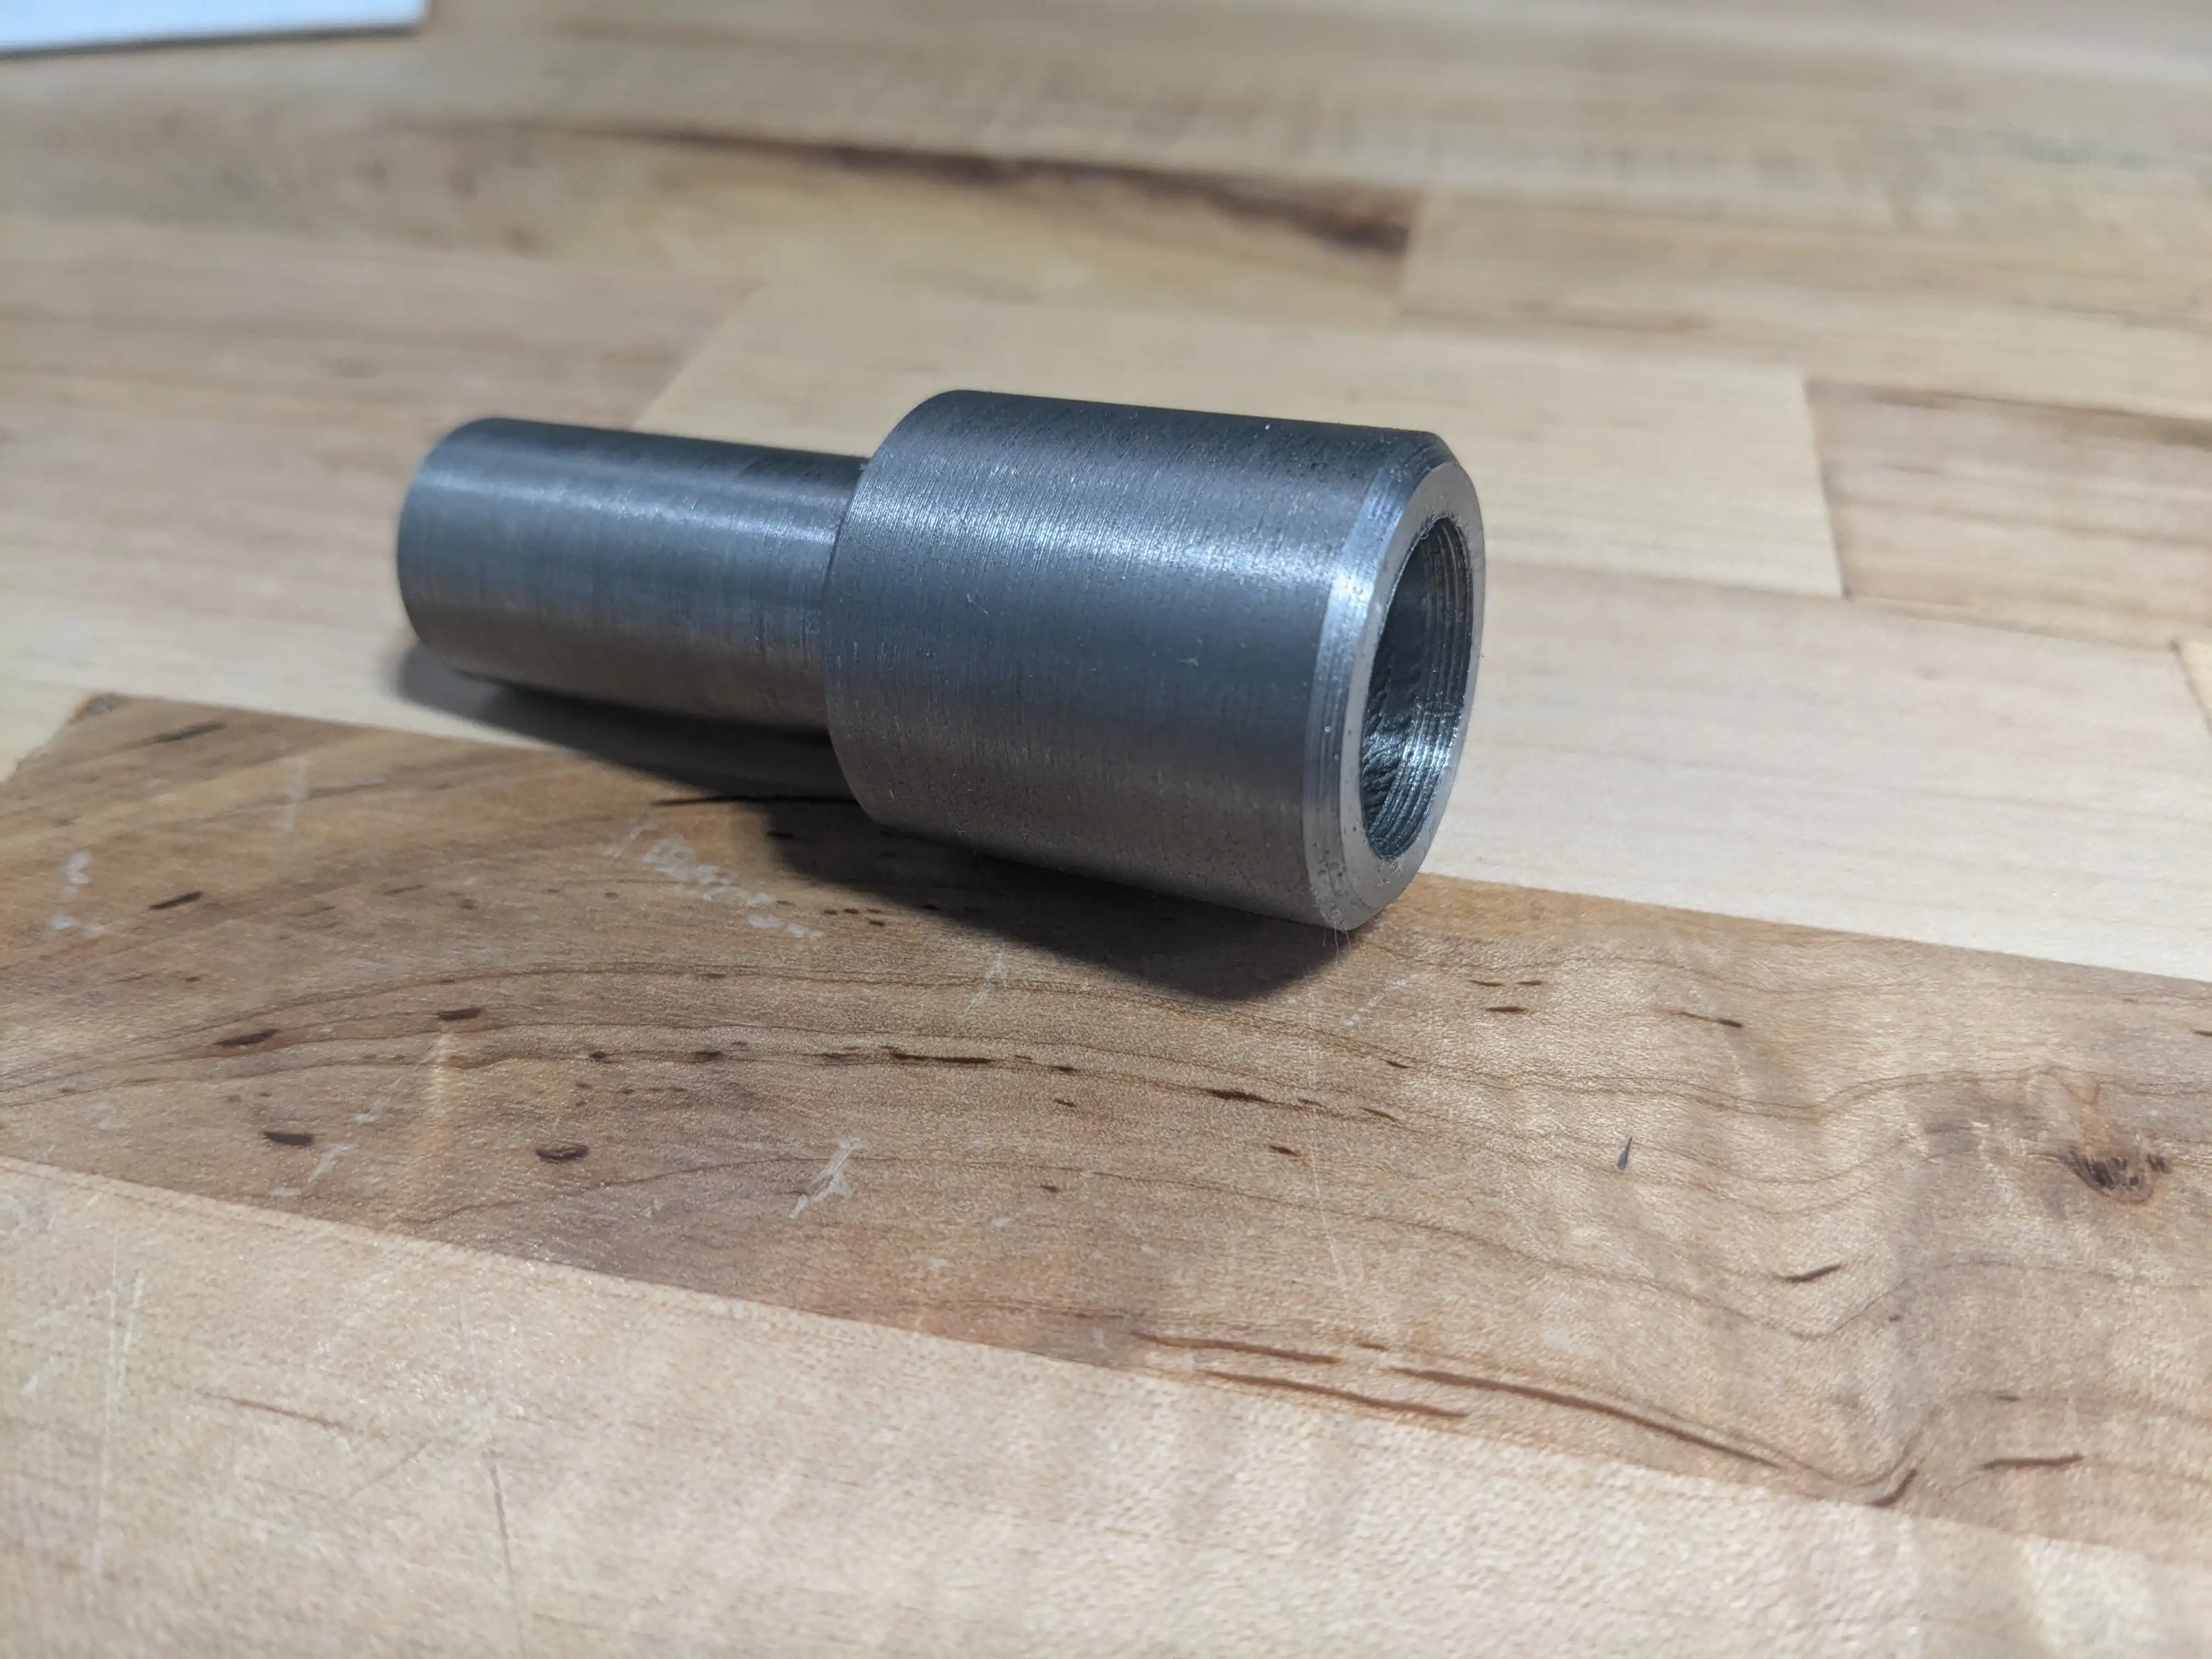
On Tuesday I turned the threads on the body of my Tap Follower. They were not fantastic. I didn’t make a trough for me to stop threading as I was concerned about the wall thickness. Because of this, the ends of the threads are inconsistent and overall not great. However, I expect that they will still work just fine and that it’s purely cosmetic.
In addition to the threads on Tuesday, I also drilled the 1/2in hole in the body. It took quite a while, as I needed to do a “pecking” operation to avoid clogging up the drill bit with chips. This significantly slows down the process and it ended up taking me almost a whole day. I also ended up misjudging the depth of the drilling operation and ended up needing to do multiple operations because, after I finished the first one, I realized that it wasn’t deep enough and there was more material inside of the piece than I had predicted.

On the bright side, this showed firsthand one of the big advantages of using a collet chuck. Even though I took the piece out and put it back in, it was still perfectly concentric. Additionally, though it’s important to note I’m working with steel and not aluminum, there were no marks on the parts from the chuck and the surface finish was unblemished.

By the end of Tuesday, I finished the body. I think it turned out about as good as I could have expected, though it’s definitely smaller than I imagined when I was designing it in Fusion. I’m a bit concerned that it’ll be too small, but for smaller threads, which is most of what we’re making, I hope it will be enough.
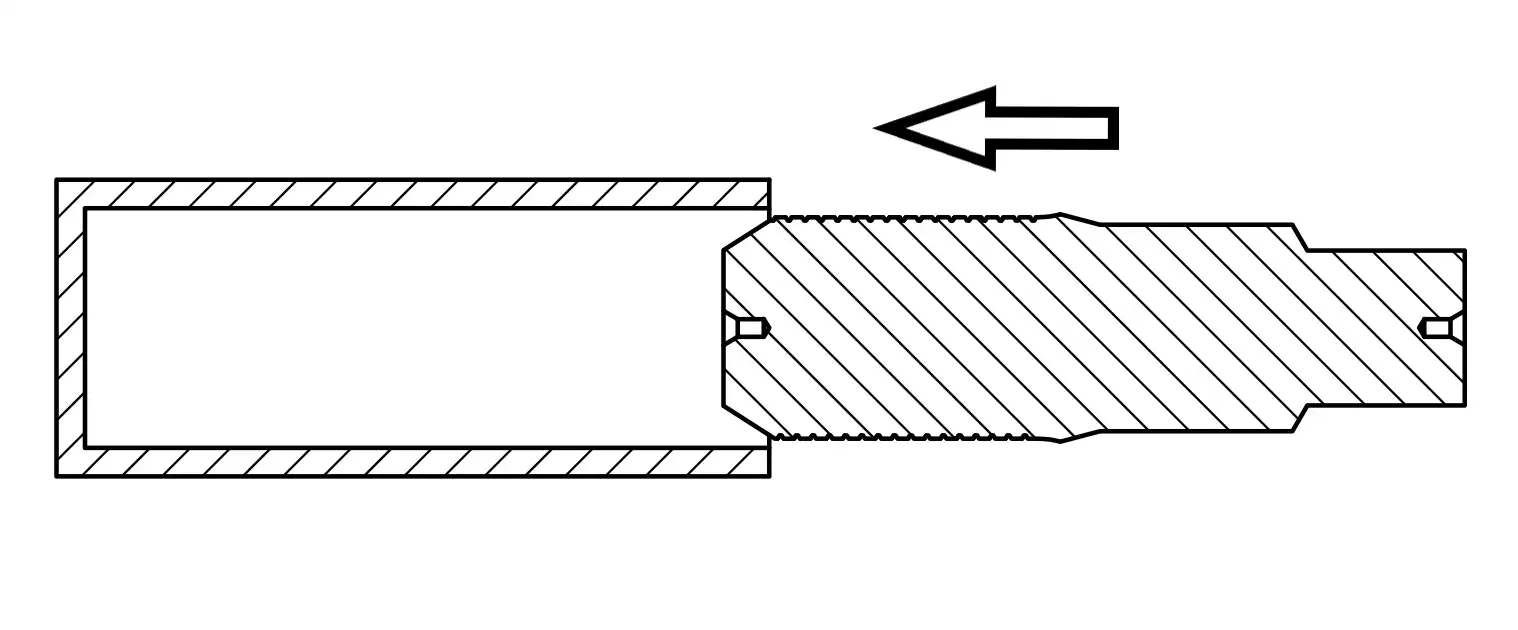
Wednesday

On Wednesday I got to work on the holder, which is the part of the Tap Follower that compresses the spring and provides a method to hold the tool. The primary feature of the holder is a 3/4in circular extrusion intended to be held by a Tormach ER32 collet. Tormach collets can be held by our Tormach mills and our Trak with an adapter we have. However, we won’t be able to hold the Tap Follower in a lathe tailstock as we do not have a Tormach to Morse Taper adapter.
Luckily, I plan to make one. It won’t clamp down on the Tormach collets, so they’ll just pull out and will freely rotate, but for tools that are pushed into the taper and are fine rotating (like my Tap Follower), this adapter I plan to make will enable me to mount my Tap Follower in all of our mills and lathes.

Because the maximum outer diameter of the holder is 1.125in (changed from the drawing I made), I need stock greater than one inch in diameter. The next largest steel stock we have is 1.3in, which is too big to fit in the collet chuck. Luckily, it’s quite easy to swap between the two chucks and I learned how to do so.
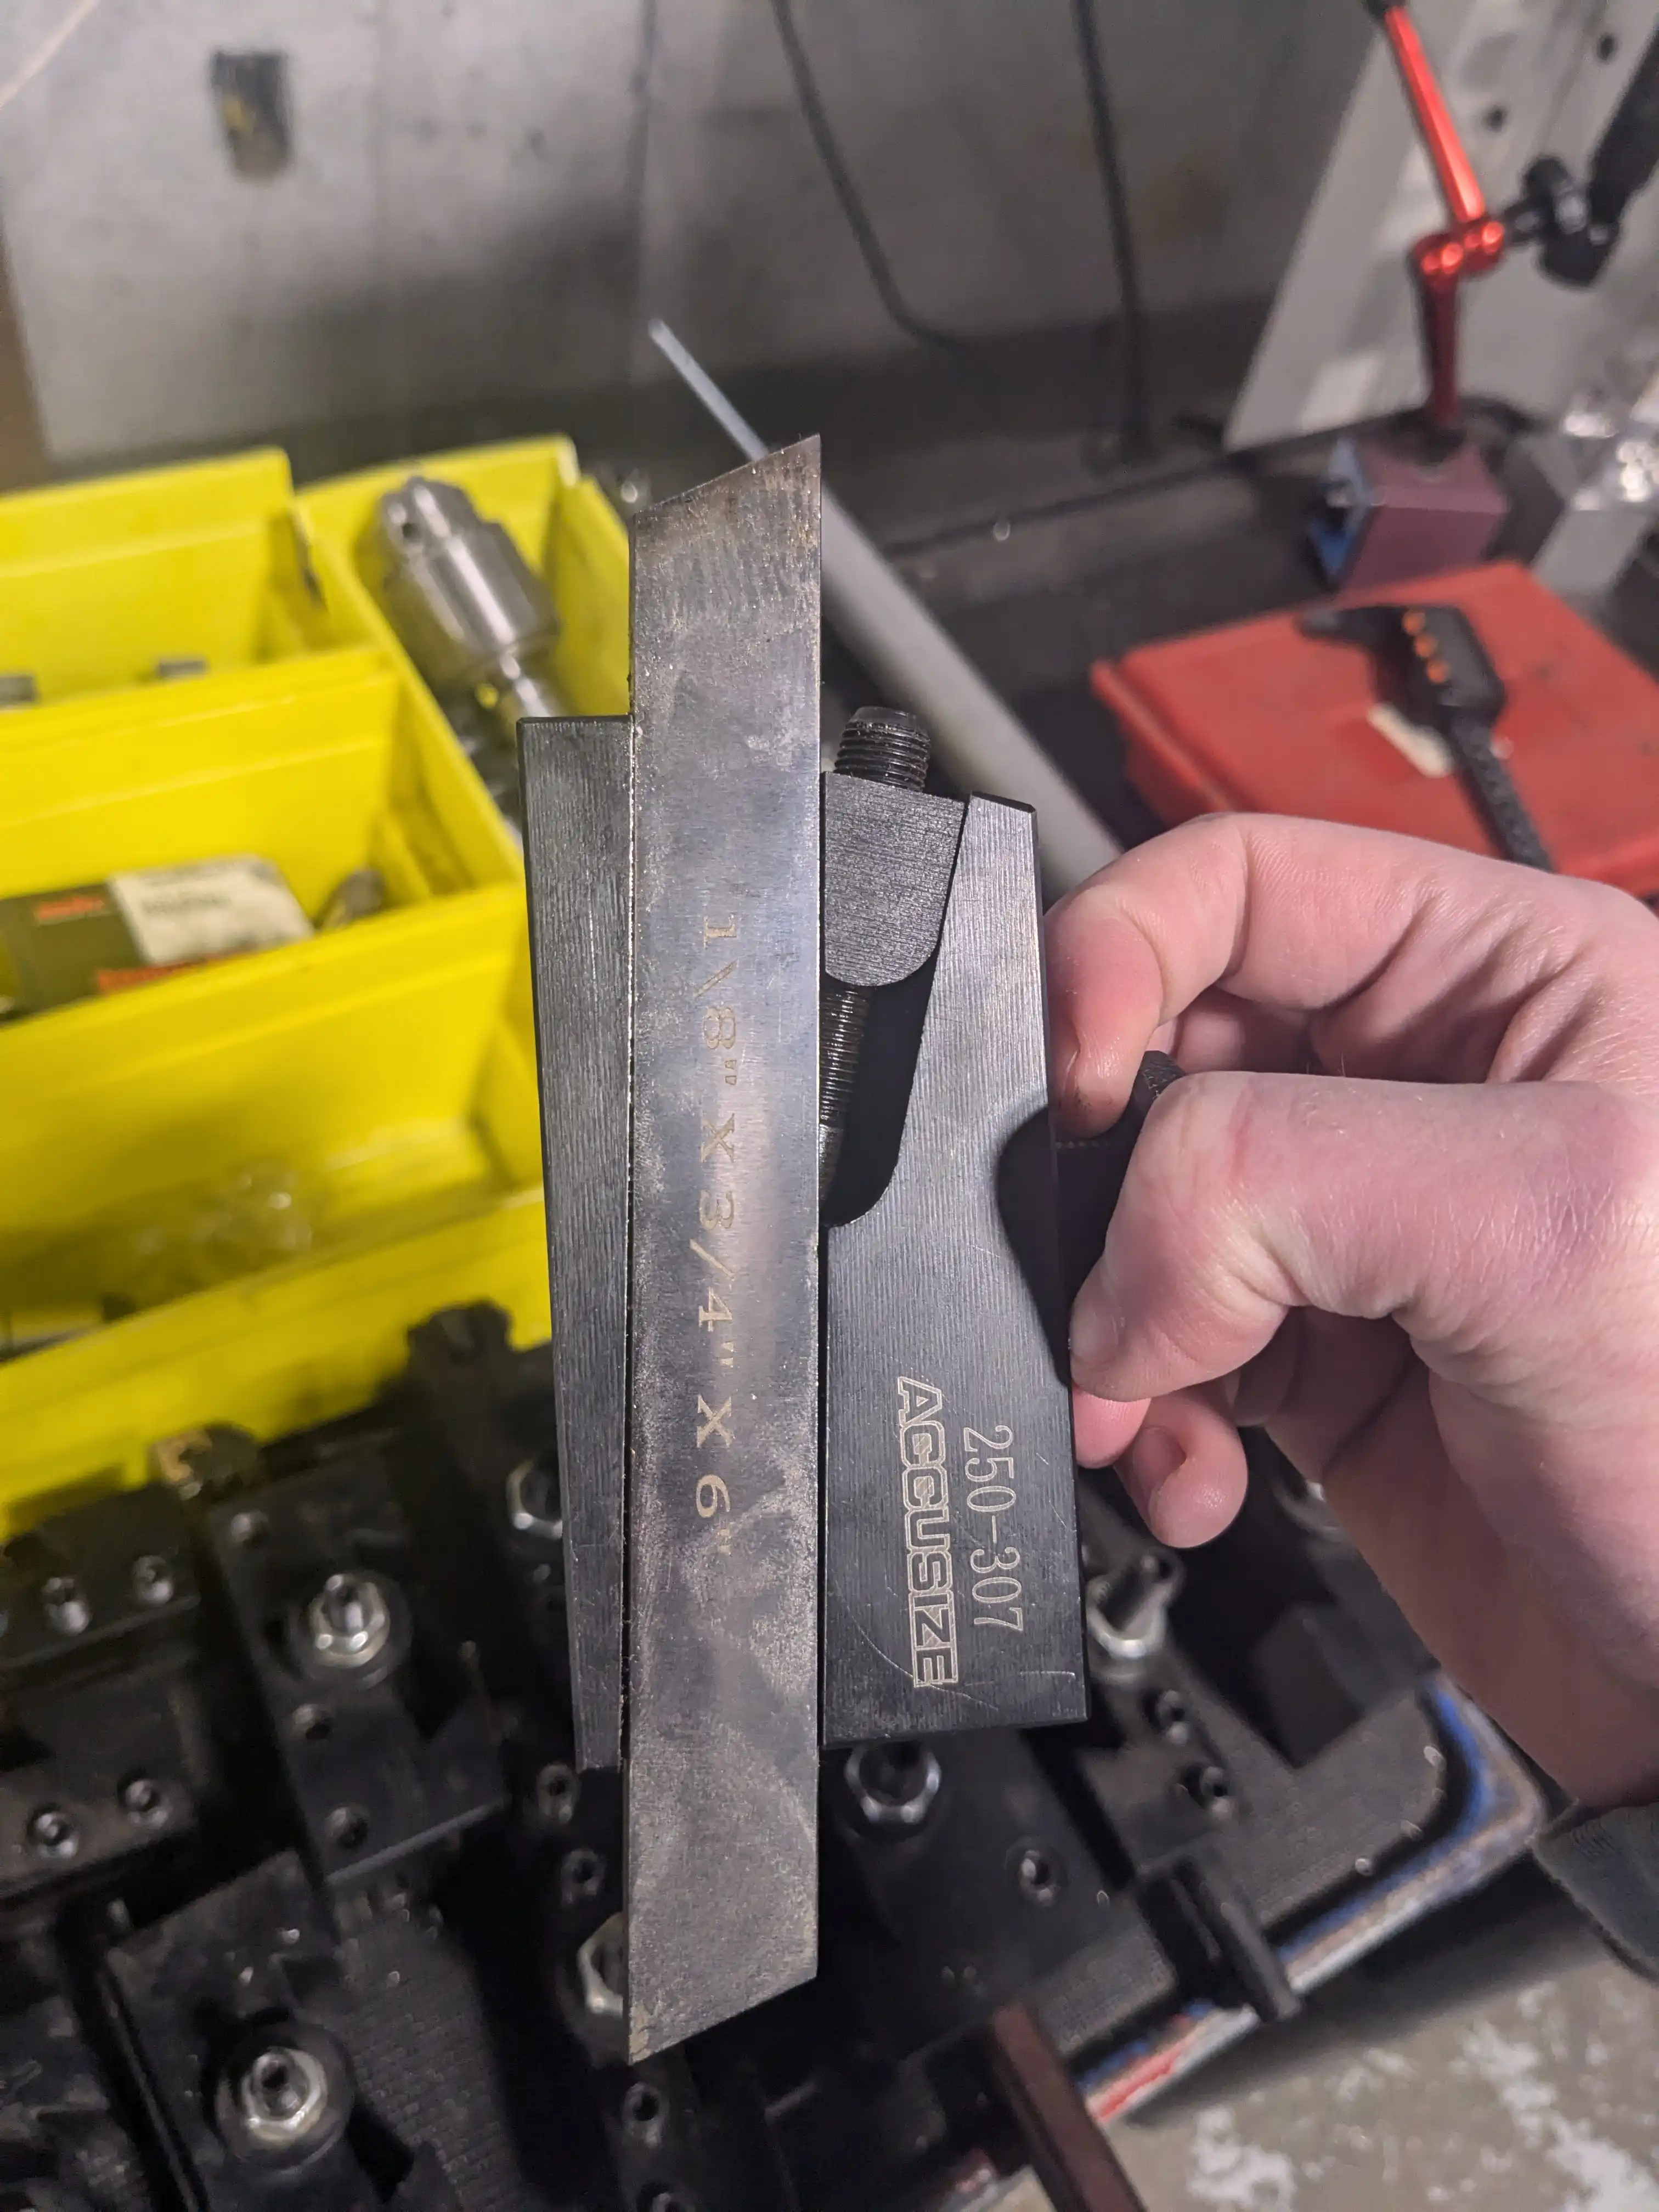
Unfortunately, in the process of parting off the holder, and I’m not quite sure what happened, I was probably just going to fast or not using enough oil, there was a THUNK, which is never a good sound to hear when turning.
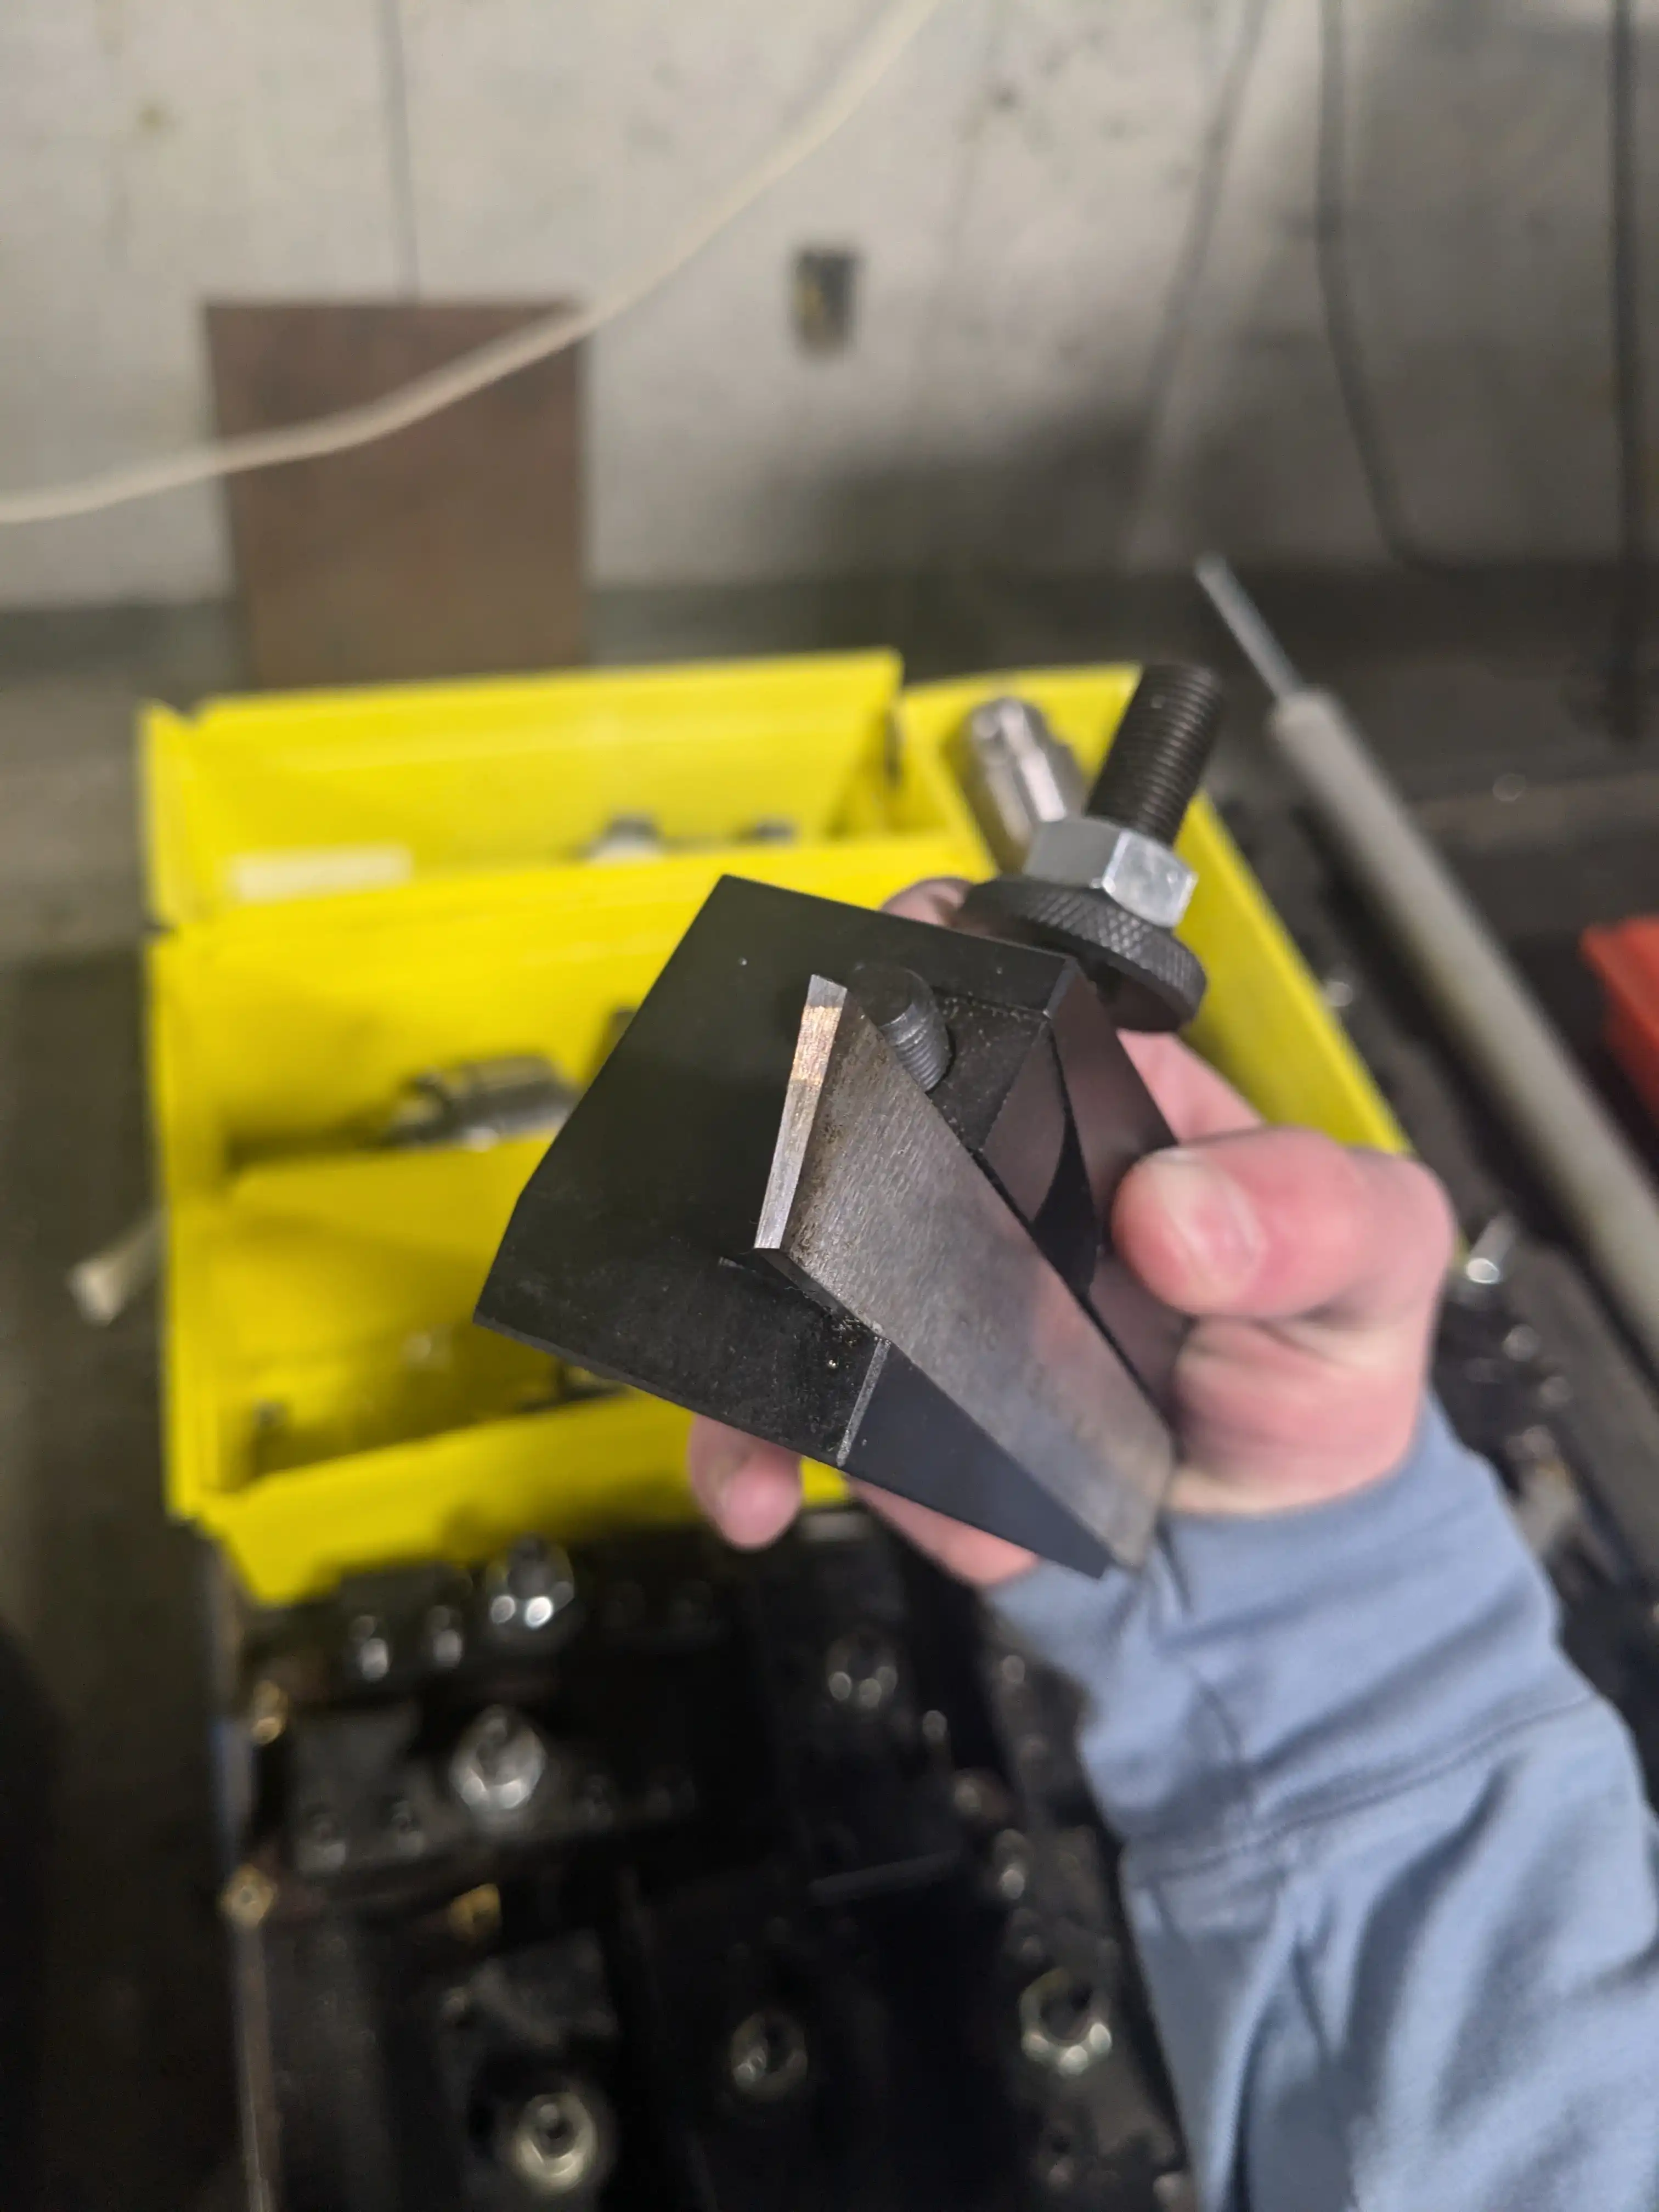
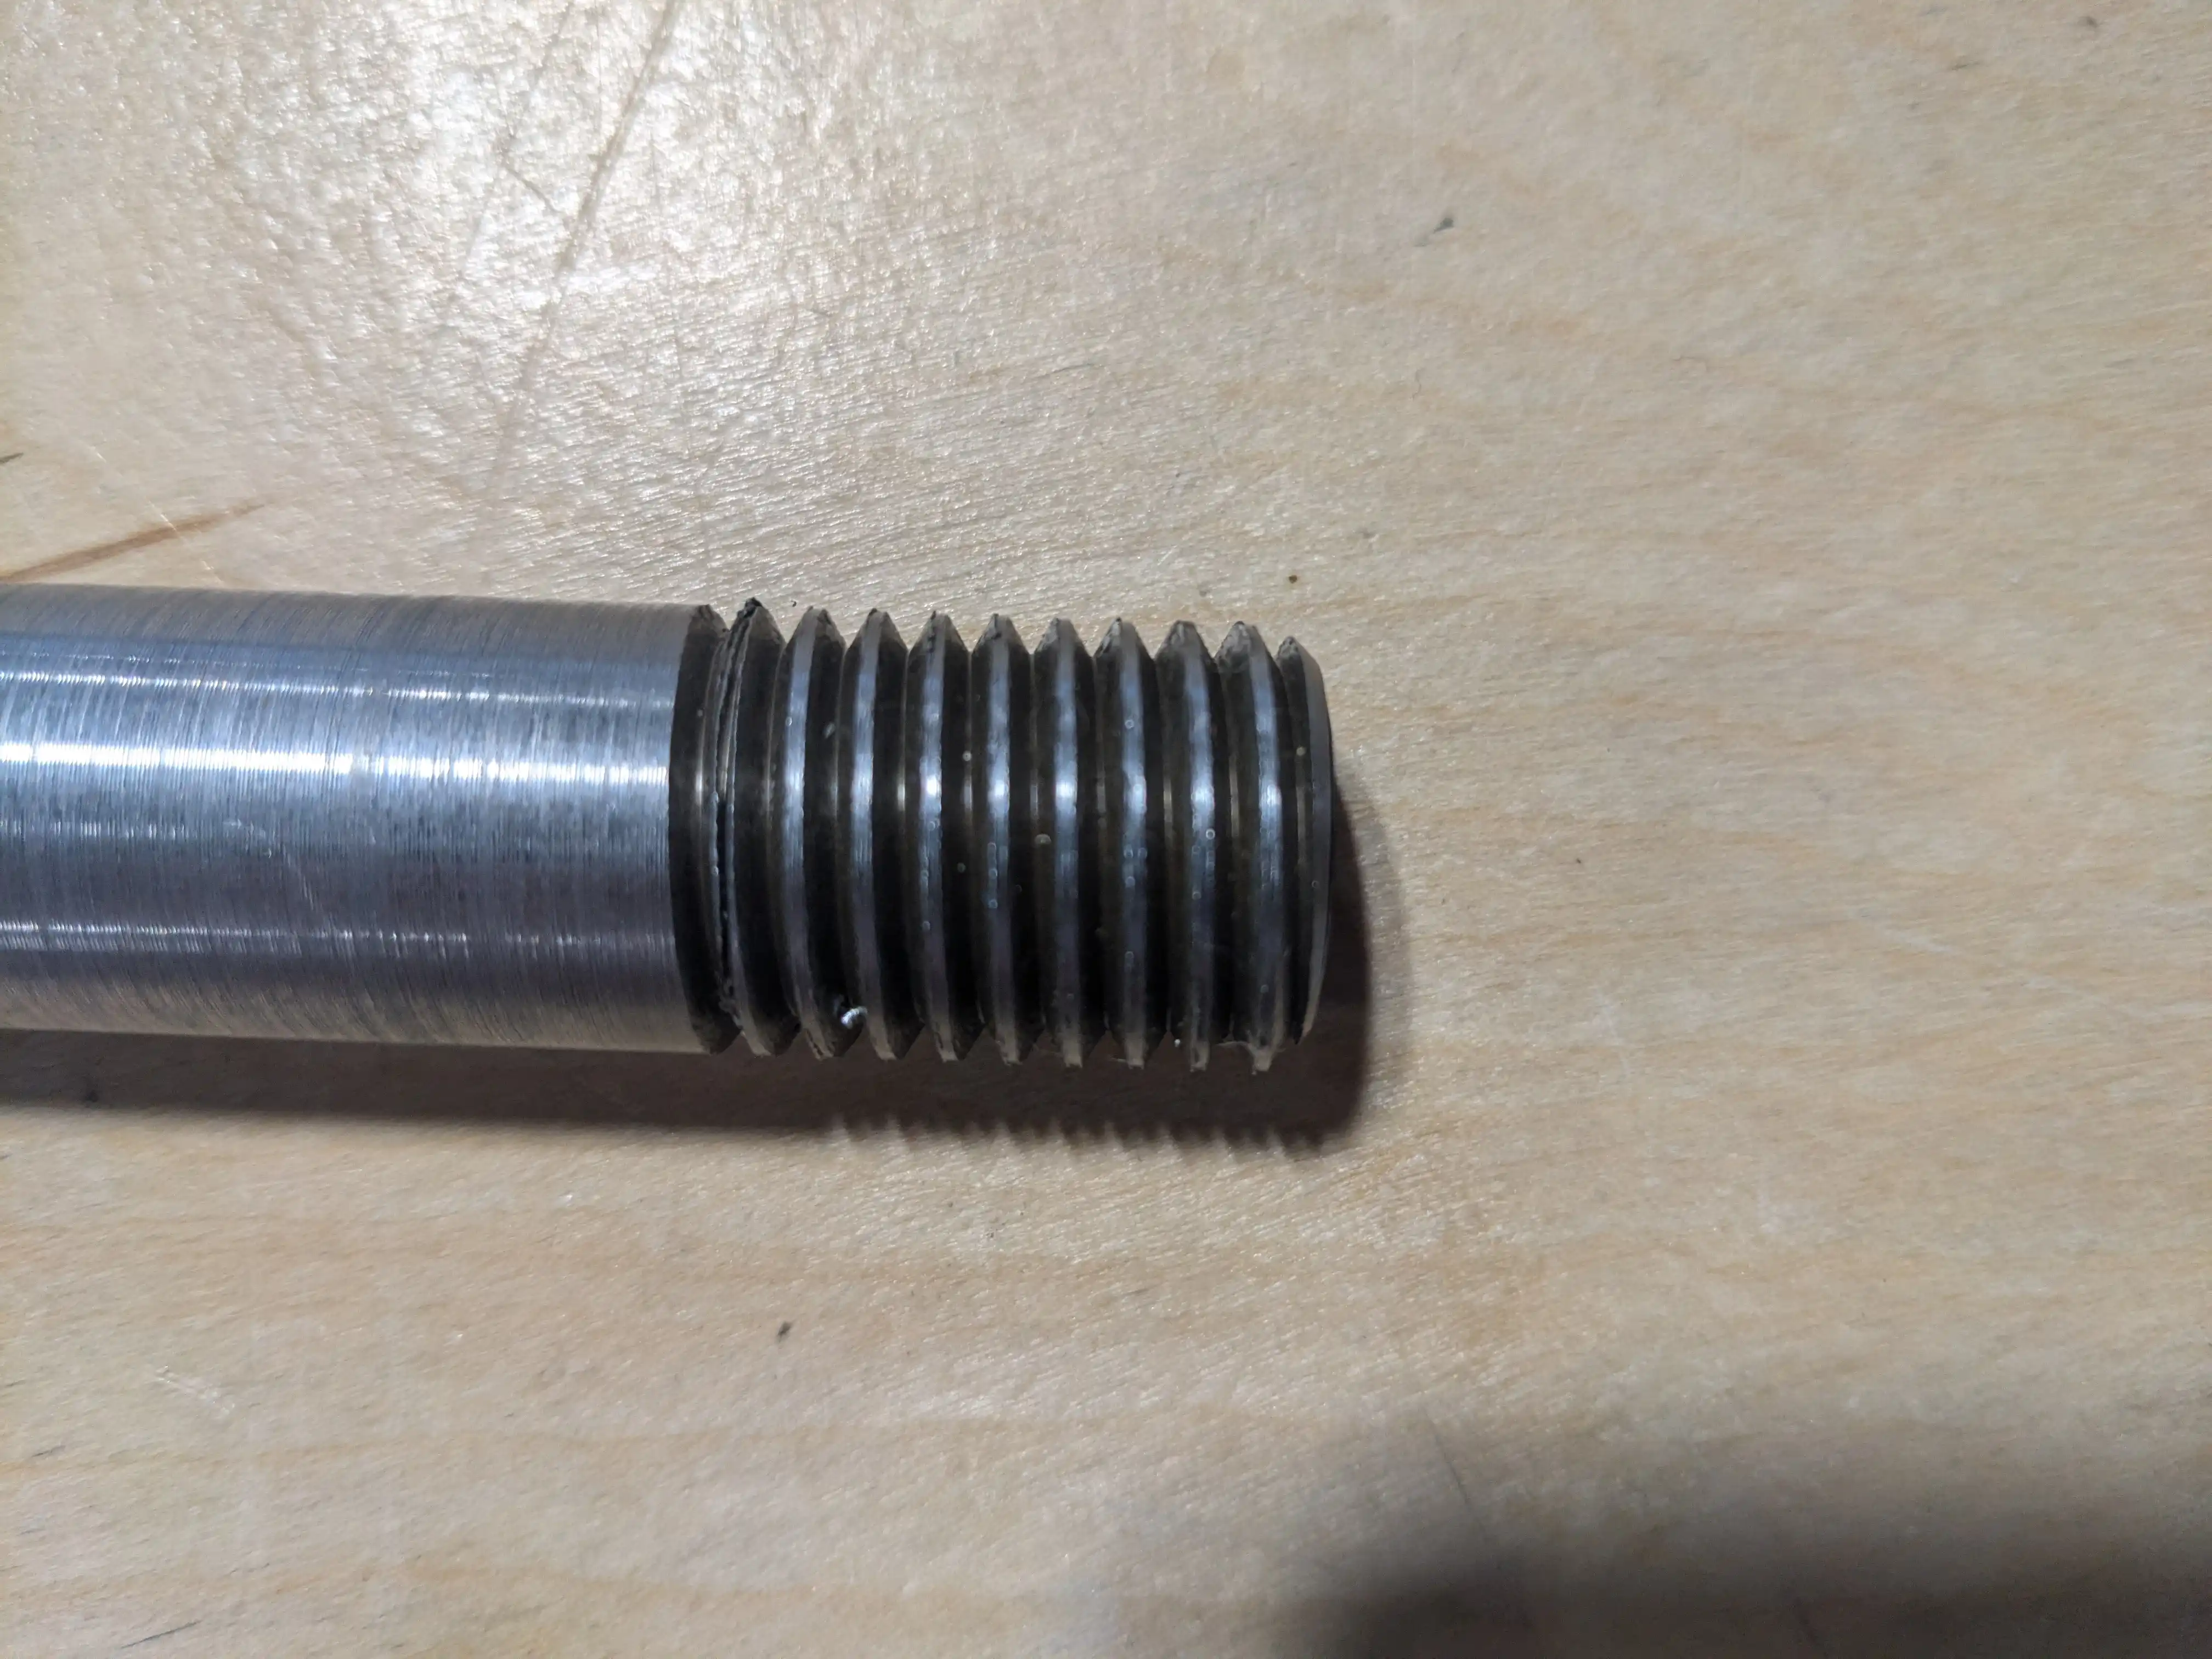
I immediately stopped the parting operation and inspected the part and tool. The part was fine, but the parting blade was mangled. Interestingly, the blade looked mangled UP. Which is quite weird, as the material was moving down the blade. I’m not really sure how that could have happened. I unfortunately did not take a picture of the blade before I fixed it. However, the photo above shows what it is now, after I re-ground the tip.
After my parting blade mishap, I wanted to try grinding the blade back into a suitable shape, as that is the primary advantage of solid tools like the parting blade I was using. Because I follow shop safety rules, I did not use my cellphone while grinding it, but I did take a photo of the scene after the fact and used high-tech digital photo tools to faithfully recreate the scene in HD™ detail.
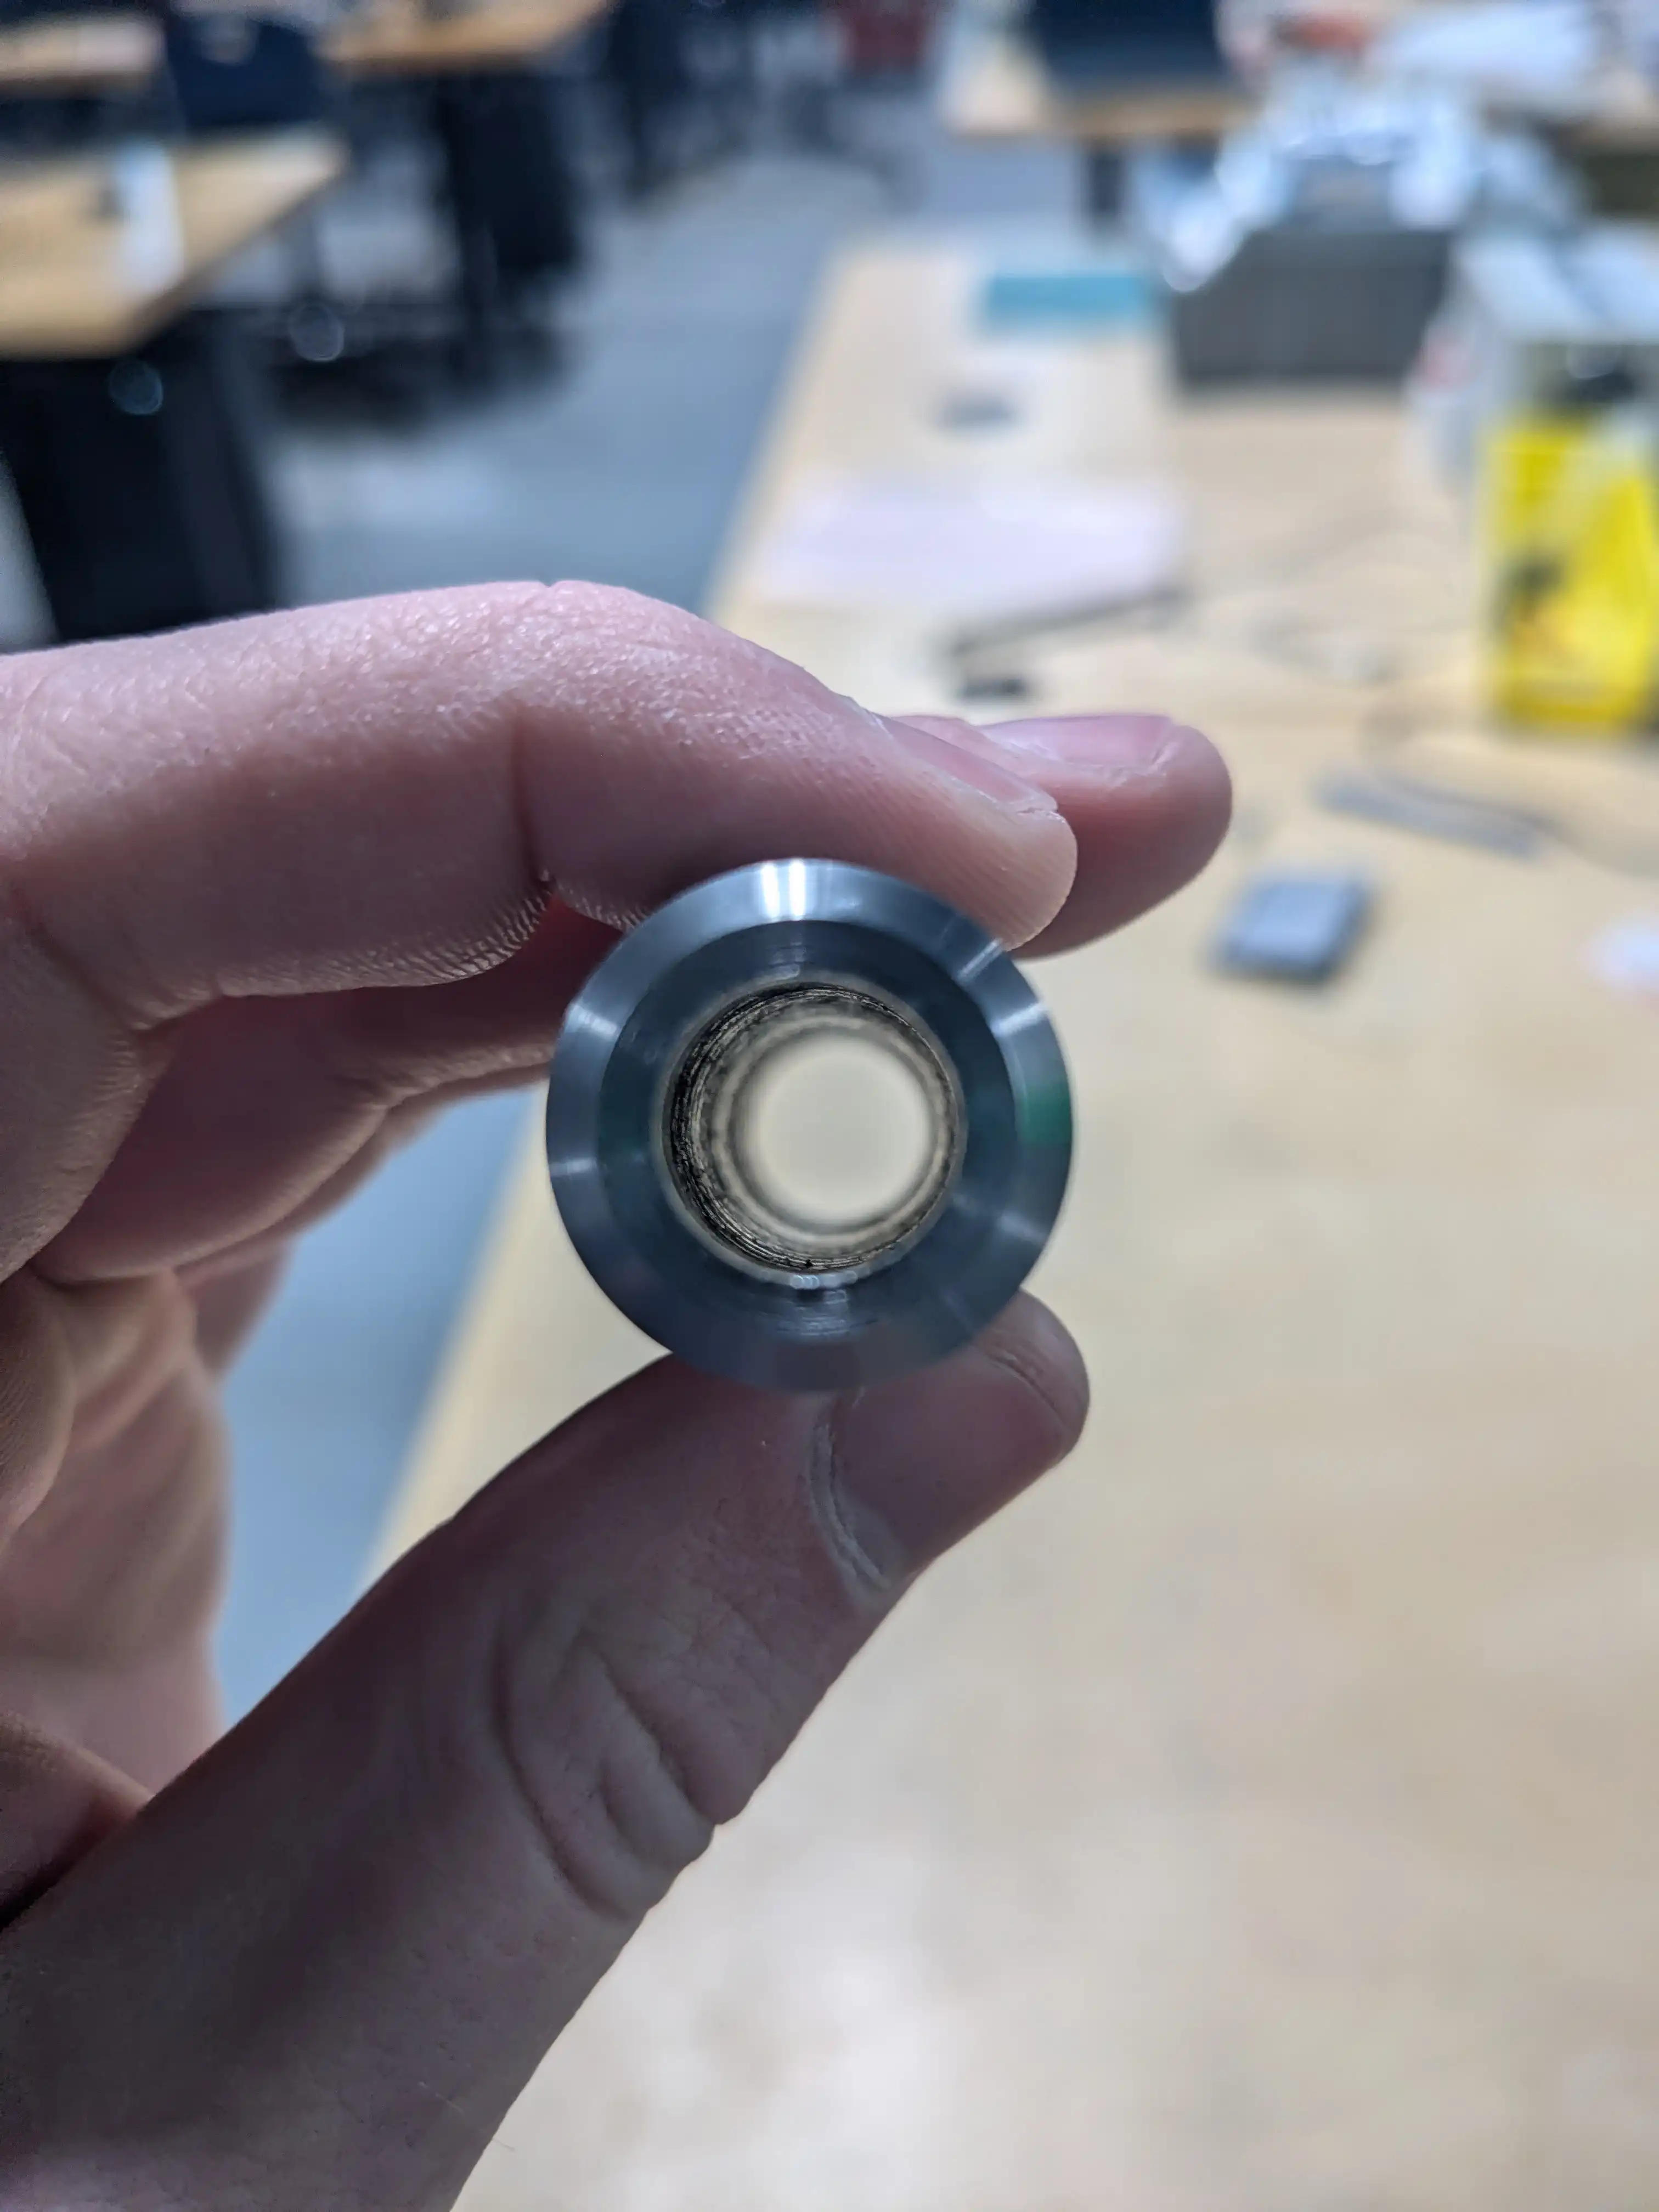
After I parted my piece, I could finally drill and thread it. The drilling went pretty smoothly and I drilled out a 3/4in hole, perfect for my 3/4-10 threads! :)
Unfortunately, as I attempted to cut the threads, I noticed a peculiar problem: the tap refused the catch. After some heavy introspection and soul-searching, I determined the cause of the problem. It appeared that, despite the major diameter of 3/4 inch threads being 3/4 inch, the minor diameter needed to be less-than 3/4 inch. Huh, who’da thunk?
NOTE: THIS VIDEO WAS TAKEN BY MR. L, NOT ME.
This mistake forced me to scrap the part and start over from the beginning. The second time around went quicker, but while the turning itself might have been quicker, things still took a lot longer than expected…

As I was swapping the chucks, I did everything as-per-usual: loosen all the bolts holding the collet-chuck in, remove the collet-chuck, clean the mating faces on the lathe and three-jaw-chuck, slot the three-jaw-chuck in, and tighten the bolts. This procedure had worked for me before and I thought it was sufficient. It was not. There are some lines on the lathe and the chuck that apparently need to line up, to the surprise of both me and Mr. L.

My part didn’t look very concentric, even after just facing it, and it started going THUNK at the end of every pass after a while. I was highly concerned, especially after I thought I saw the part jumping up and down once or twice. Despite consulting the manual our lathe came with and not seeing anything about the lines, I figured I would try re-mounting the three-jaw-chuck and aligning them in hopes it would solve my concerning part-holding situation. This appeared to have fixed the issue and after the re-mount, my part was finally concentric after facing and it stopped making bad noises.

On Wednesday, Tanzy, Ben, and I moved one of the stock-holders, which opened up a gap between the small Tormach and router for us to walk through. This was sorely needed, as in order to get to the drawers on the other side of the machine shop, you’d need to walk all around the machines to get there. Now you can walk directly through this gap to get there.
Thursday

By Thursday, it was time to start drilling the hole to be tapped. This time, I would remember to NOT drill to 3/4in and instead go slightly under, to a value specified on our tapping chart (I don’t remember the exact number). Unfortunately, I spent the entire day drilling the hole and I’m not even done, as we don’t have the drill bit we need and will need to use a boring bar. In order to use a boring bar, though, we do still need to pre-drill a smaller hole.

This step took a long time. Apparently, all three of our 1/2 inch drill bits are frightfully dull and can barely drill even aluminum. Mr. L and I tried to sharpen them, but we ultimately failed. Neither of us is quite sure what’s wrong, and YouTube videos demonstrating our model of drill bit sharpener do not reveal any problems in our method. I ended up using a 1/2 inch drill bit from Mr. L’s secret stash to drill my hole, which finally worked and cut without problem.